Google SSO Integration Guide
Table of contents
- 1. Prerequisites
- 2. Open Google Cloud Console
- 3. Create a New Google Cloud Project
- 4. Enable Required APIs
- 6. Create OAuth 2.0 Credentials (Client ID + Secret)
- 5. Create a Service Account
- 8. Configure Google SSO in TIKTING
- 9. Test Google SSO Login
- 10. User Rollout
TIKTING supports secure authentication using Google Single Sign-On (SSO) through Google Workspace.
This guide explains how to set up the required Google Cloud project, enable APIs, create OAuth credentials, and configure the mandatory Service Account for directory-level access.
1. Prerequisites
To use Google SSO with TIKTING, you must have:
- An active Google Workspace subscription
- Admin access to the Google Workspace Admin Console
- Admin access to Google Cloud Console
If your organization does not yet use Google Workspace, you can register here:
https://workspace.google.com
2. Open Google Cloud Console
Navigate to:
https://console.cloud.google.com
Sign in with your Workspace Admin account.
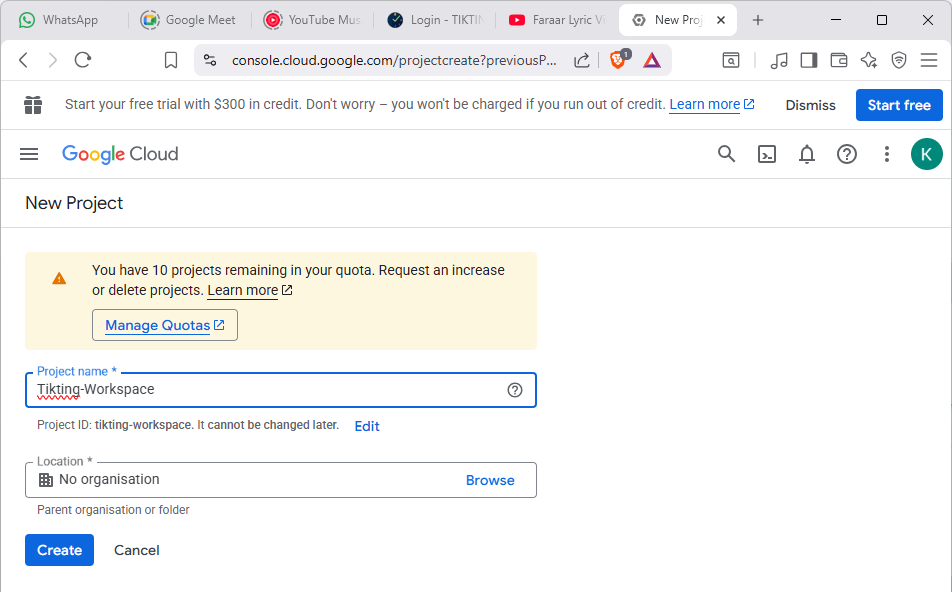
3. Create a New Google Cloud Project
- Click the Project Selector (top-left).
- Choose New Project.
- Enter a project name such as
Tikting-Workspace. - Click Create.
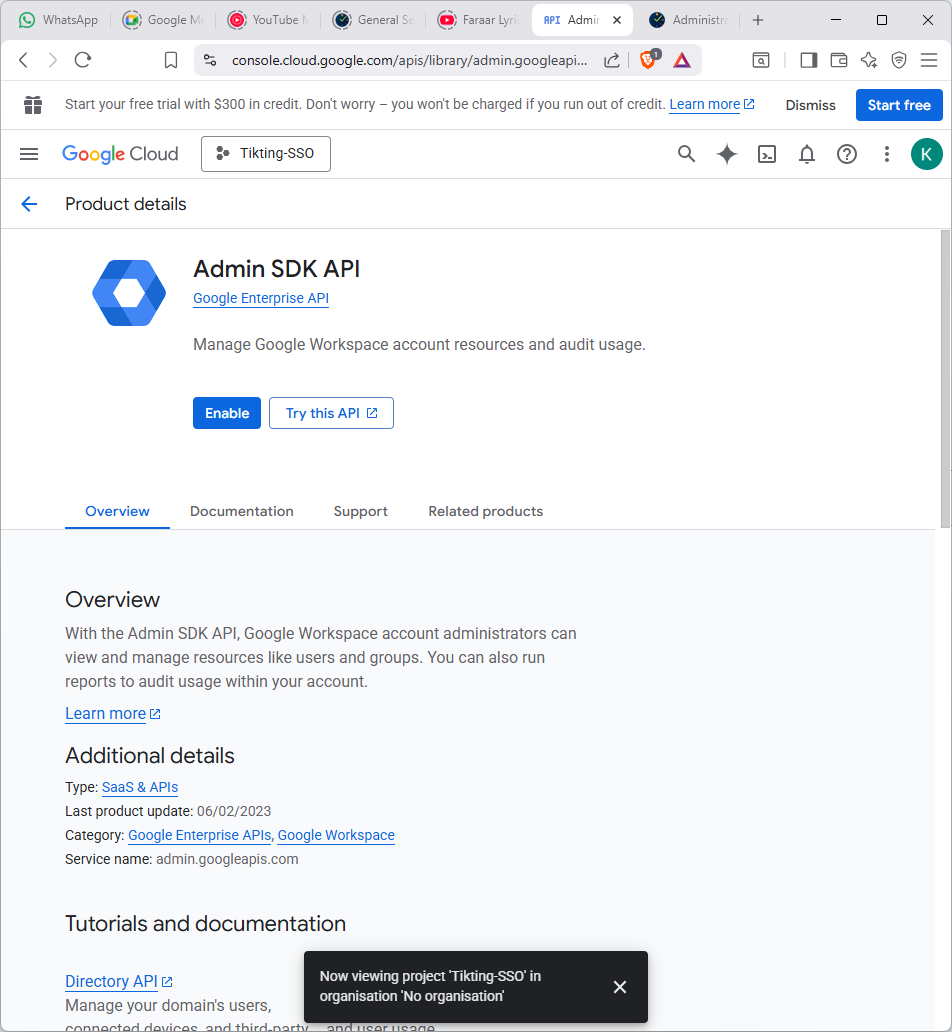
4. Enable Required APIs
In your new project:
Go to APIs & Services → Library
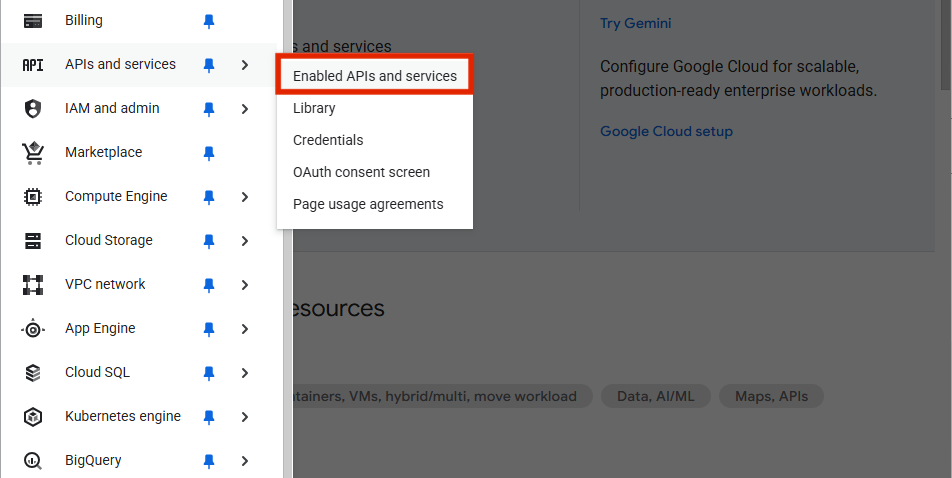
Enable the following APIs:
- Google Admin SDK API
6. Create OAuth 2.0 Credentials (Client ID + Secret)
- Go to APIs & Services → Credentials
- Click Create Credentials → OAuth client ID
- Select Web application
- Add these redirect URIs:
https://tikting-domain.com/auth/google/callback
http://localhost:5173/auth/google/callback (Optional for local development)
- Save and copy:
- Client ID
- Client Secret
These will be added into TIKTING later.
Screenshot Placeholder:

5. Create a Service Account
TIKTING requires a Service Account to retrieve authorized user details from Google Workspace Directory and to validate organization domains.
Steps
- Go to IAM & Admin → Service Accounts
- Click Create Service Account
- Enter:
- Name:
tikting-sso-service-account - ID: auto-generated
- Name:
- Click Create and Continue
Assign Roles (Mandatory)
Assign the following roles:
- Viewer
- Cloud Identity → Directory Reader
Generate and Download JSON Key
- After the account is created, open it
- Go to the Keys tab
- Click Add Key → Create new key
- Select JSON
- Download the key file
Keep this file secure; it will be uploaded into TIKTING.
Screenshot Placeholders:


8. Configure Google SSO in TIKTING
- Log in to the TIKTING Admin Portal
- Navigate to:
Settings → Authentication → Google SSO
- Enter the following:
- Google Client ID
- Google Client Secret
- Upload Service Account JSON
- Enable the Google Login toggle
- Save settings
Screenshot Placeholder:

9. Test Google SSO Login
- Open your TIKTING login page
- Click Continue with Google
- Select a Workspace user account
- Confirm successful login
- Validate that restricted domains behave as expected
Screenshot Placeholder:

10. User Rollout
Share the final login URL with your users: (example)
https://your-tikting-domain.com/app/login
Users can now log in securely with their Google accounts.
Support
If you require help during setup, contact ITDEVTECH support or your assigned TIKTING onboarding engineer.