Table of contents
- TIKTING – Microsoft Entra ID (Azure AD) SSO Integration Guide
- 1. Prerequisites
- 2. Open Azure Portal
- 3. Create an App Registration
- 4. Record Application Details
- 5. Add Redirect URIs and Logout URLs
- 6. Create a Client Secret
- 7. Configure Required API Permissions
- 8. Assign (Optional But Recommended) Directory Role
- 9. Configure Microsoft Entra SSO in TIKTING
- 10. Test Microsoft Login
- 11. User Rollout
- Support
TIKTING – Microsoft Entra ID (Azure AD) SSO Integration Guide
TIKTING supports secure authentication using Microsoft Entra ID (formerly Azure Active Directory).
This guide explains how to create an Entra App Registration, configure API permissions, create a client secret, assign directory roles, and integrate with TIKTING.
1. Prerequisites
To enable Microsoft Entra SSO, ensure you have:
- An active Microsoft 365 / Entra ID tenant
- Global Administrator or Application Administrator permissions
- Access to the Azure Portal
If your organization does not yet use Microsoft Entra ID, you can register here:
https://azure.microsoft.com
2. Open Azure Portal
Navigate to:
Sign in using your administrator account.

3. Create an App Registration
- Go to Microsoft Entra ID
- Select App registrations
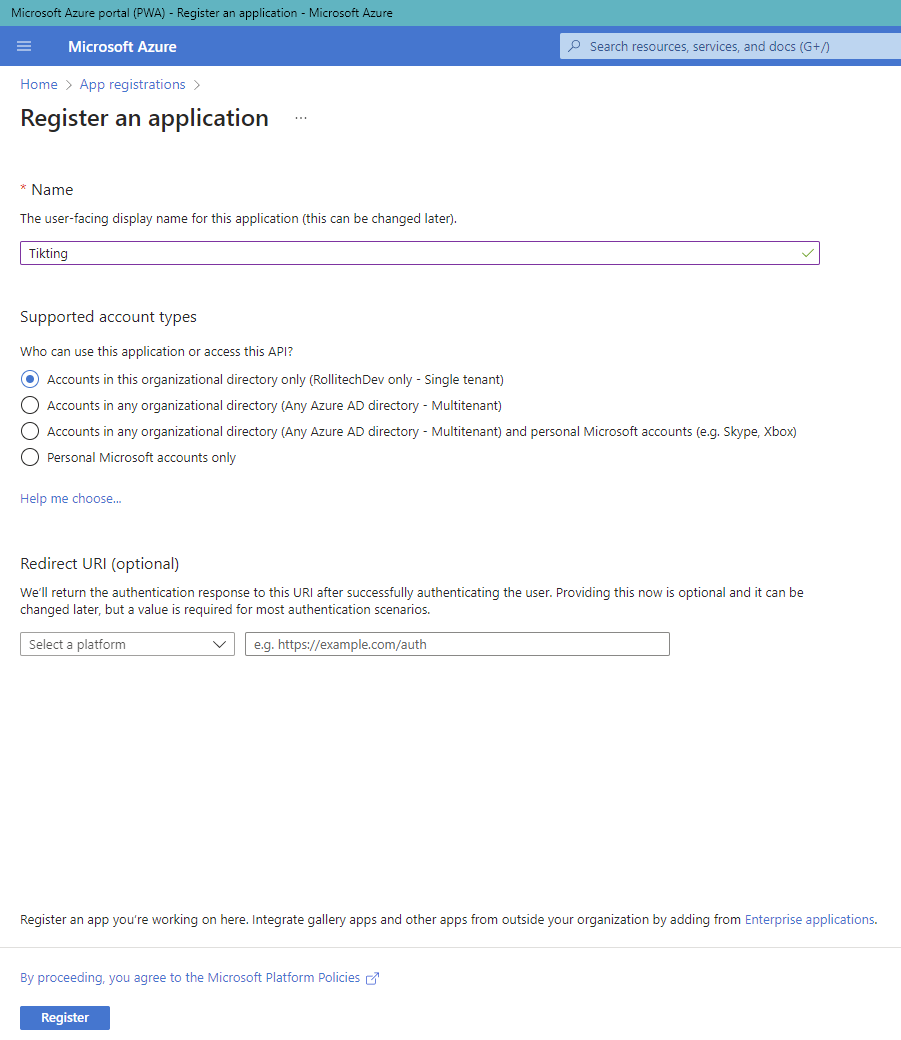
- Click New registration
- Fill the details:
- Name:
TIKTING-SSO - Supported account types: Accounts in this organizational directory only
- Redirect URI (Web):
https://your-tikting-domain.com/auth/azure/callback
- Name:
- Click Register
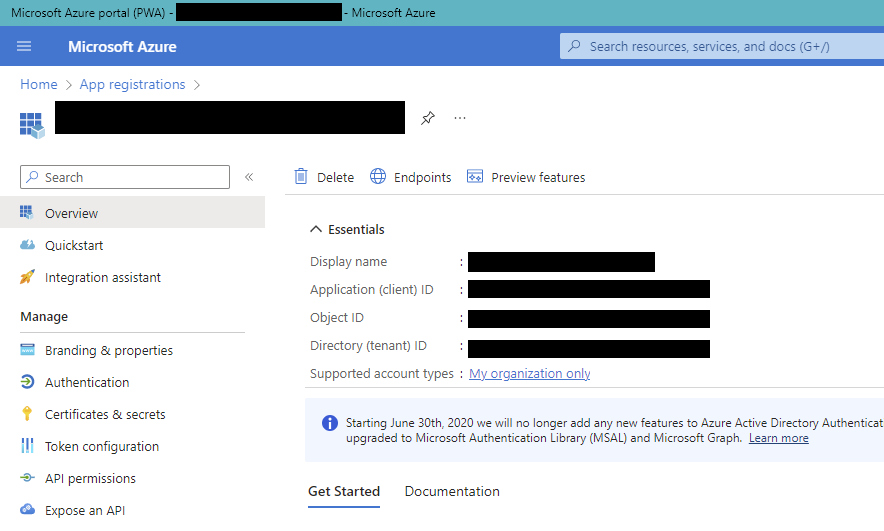
4. Record Application Details
After registration, copy the following values:
- Application (client) ID
- Directory (tenant) ID
These will be entered into TIKTING later.
Screenshot Placeholder:
5. Add Redirect URIs and Logout URLs
- Go to Authentication
- Under Redirect URIs, add:
https://your-tikting-domain.com/auth/azure/callback
http://localhost:5173/auth/azure/callback (Optional for local development)
- Enable the following:
- ID tokens (required for implicit and hybrid flows)
- Save
Screenshot Placeholder:

6. Create a Client Secret
- Go to Certificates & secrets
- Select New client secret
- Add description:
tikting-sso-secret - Choose expiry (recommended: 24 months)
- Click Add
- Copy the Value immediately (it won’t be shown again)
Fields required by TIKTING:
- Client Secret Value
- Secret ID (optional for logs)
Screenshot Placeholder:

7. Configure Required API Permissions
TIKTING requires access to basic profile and directory data to validate users.
7.1 Go to API permissions → Add a permission
Add the following Microsoft Graph permissions:
Delegated Permissions
openidemailprofileUser.Read
Application Permissions (mandatory for directory lookup)
User.Read.AllDirectory.Read.All
7.2 Grant Admin Consent
Click:
**Grant admin consent for
Permissions will show a green checkmark once approved.
Screenshot Placeholder:

8. Assign (Optional But Recommended) Directory Role
If you want tighter security, assign the app a limited directory role:
- Go to Microsoft Entra ID → Roles and administrators
- Assign the app:
- Directory Readers
This provides safer read-only access for validating users.
Screenshot Placeholder:

9. Configure Microsoft Entra SSO in TIKTING
In the TIKTING Admin Portal:
- Navigate to:
Settings → Authentication & SSO → Microsoft Entra ID (Azure AD)
- Enter the following values:
- Tenant ID
- Client ID
- Client Secret
- Directory Permissions Scope (default)
- Save settings
- Enable the Microsoft Login toggle
Screenshot Placeholder:

10. Test Microsoft Login
- Open your TIKTING login page
- Click Sign in with Microsoft
- Authenticate using a Microsoft 365 user
- Confirm login flow completes successfully
Screenshot Placeholder:

11. User Rollout
Provide the final login URL to your staff:
https://your-tikting-domain.com/app/login
Users can now log in using their Microsoft 365 accounts.
Support
If you require help during setup, contact ITDEVTECH support or your assigned TIKTING onboarding engineer.